Organisation-level controls
Manage all of your organisation’s workspaces and apply settings at the organisation level in one place 🎮

Note: This feature is only available to users on the Enterprise Plan. Domain verification is not required to enable this feature.
To manage organisation level controls, Enterprise workspace owners need to first set up their organisation and become or designate an Organisation owner. To do this:
Open the workspace switcher and select
Set up organisation.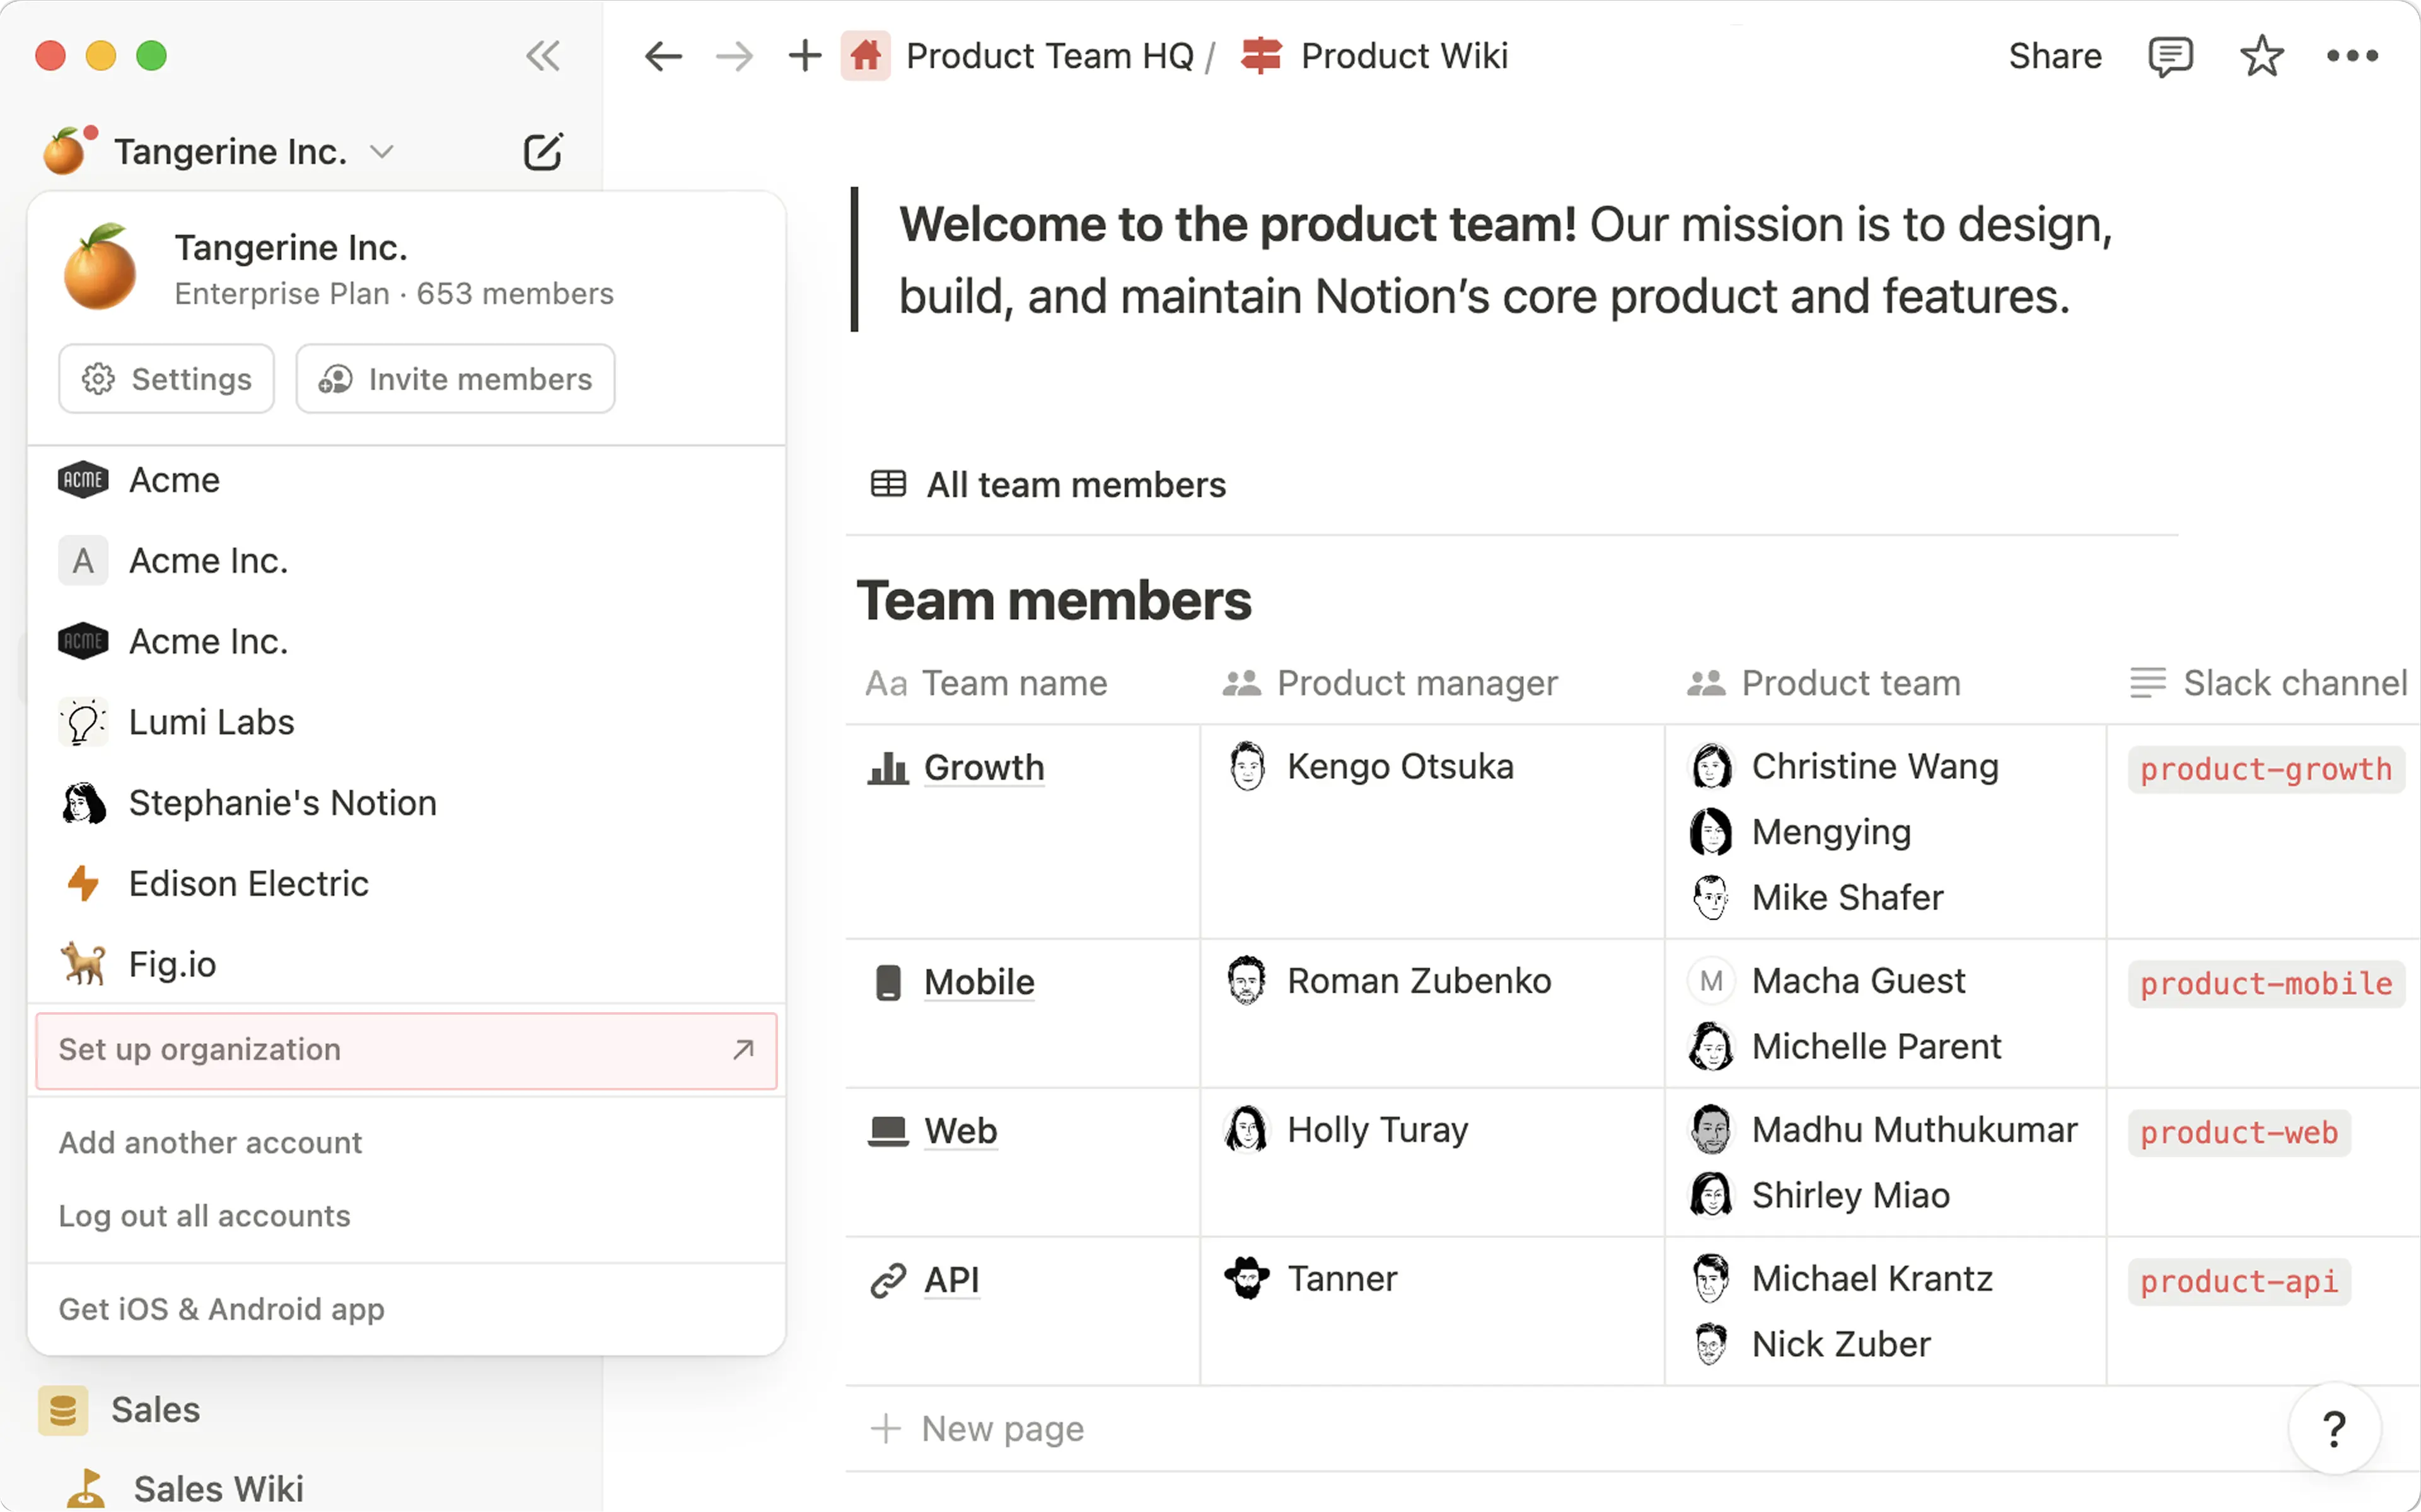
If you don’t already have an approved email domain, you have the option to add one here. Follow the prompts to set one up, then select
Verify domain. When you’re done, selectConfigure organisation.Choose an icon and name for your organisation.
Select one or more organisation owners. These can be the workspace owners of your organisation’s Notion workspaces or whoever else you would like to help manage your organisation. When you’re done, select
Finish setup.Select
Go to Admin console.
To view and manage your organisation level controls from a Notion workspace:
Open the workspace switcher and select
Manage organisation.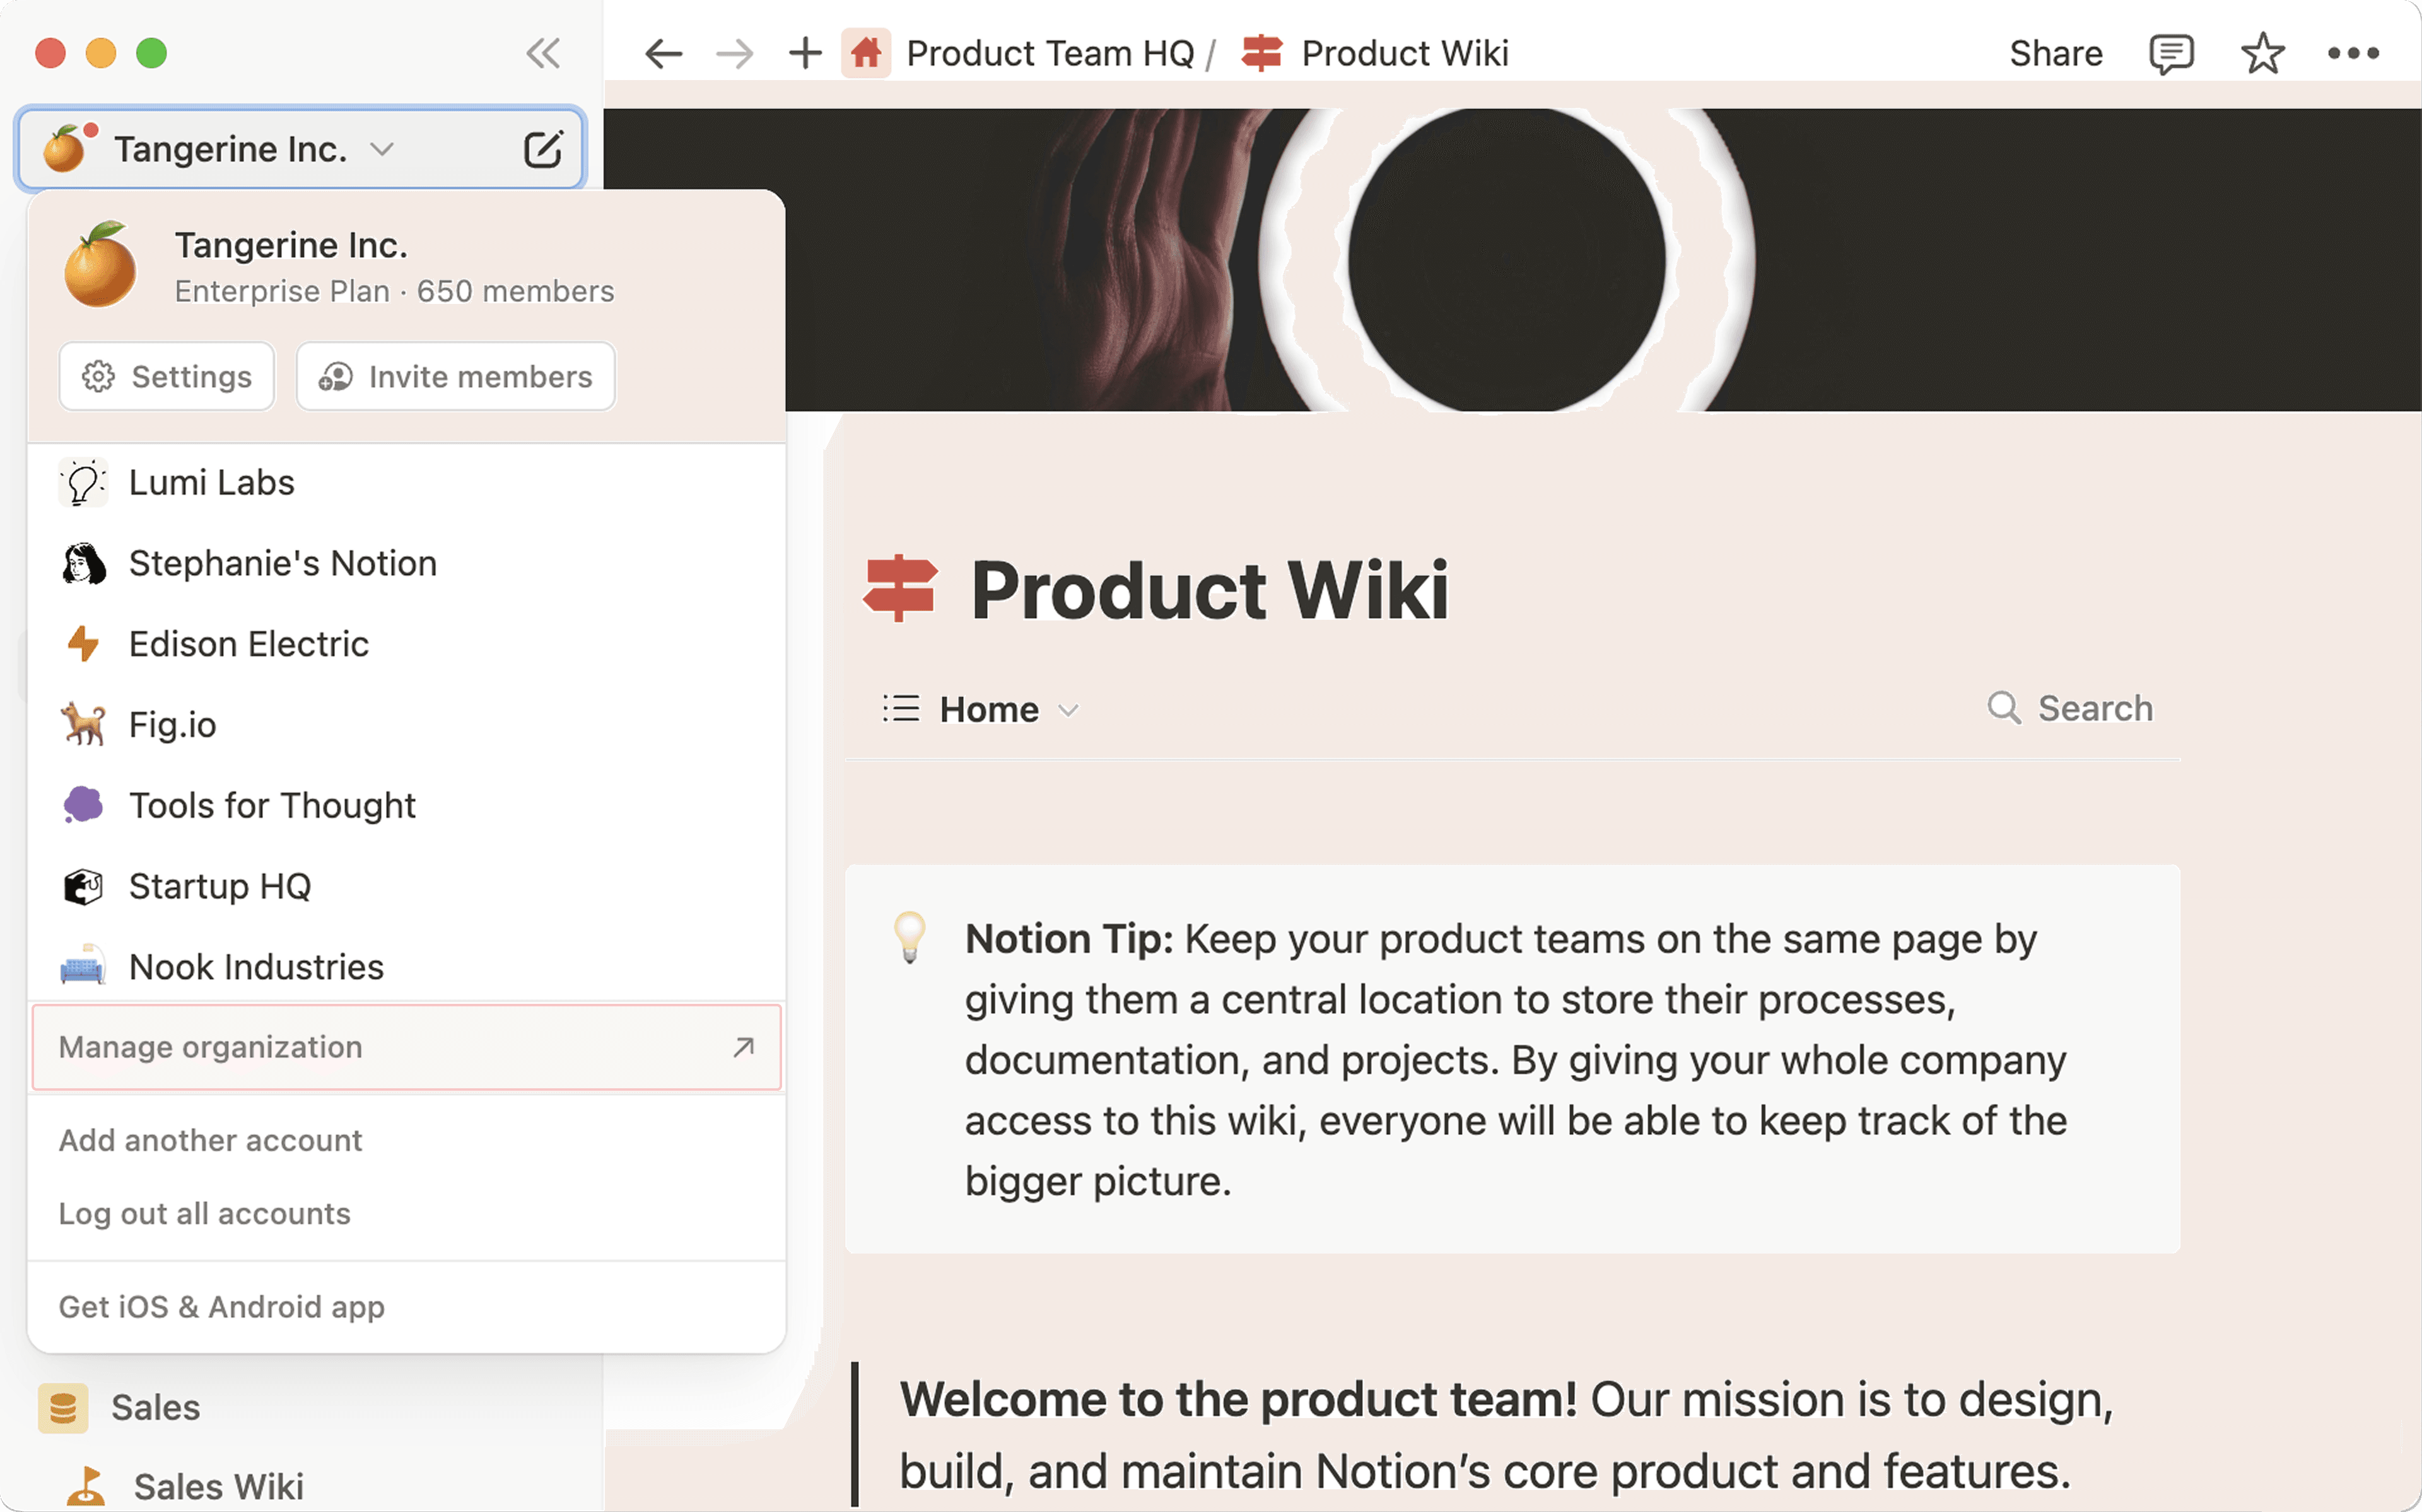
This will open your organisation level controls in your web browser. Feel free to bookmark this link for future use!
When a setting is applied at the organisation level, workspace owners won’t be able to adjust those settings in their workspace settings. They’ll see that the settings are managed by their organisation.
Workspace members won’t be impacted by organisation level controls — these settings are only visible and available to organisation owners.
The General tab gives you a birds-eye view of your organisation, including its members and workspaces. From this tab of your organisation level settings, you can do the following:
Select
Edit detailsto update your organisation’s name.See how many members belong to your organisation. Select the
Memberstile to manage your members.See how many workspaces belong to your organisation. Select the
Workspacestile to manage your workspaces.Select
Manage email domainsto verify the email domains associated with your organisation.Set up SAML Single sign-on
(SSO)and SCIM provisioning for your workspaces.Require users to authorise with SAML SSO when trying to access workspaces in your organisation.
Delete your organisation.
The People tab lets you see all the members and guests across all of your workspaces deduped in one view, so you can easily understand how they impact your billing. From the People tab of your organisation level settings, you can do the following:
Select
Add membersto add members to specific workspaces belonging to your organisation.View and manage members, guests, groups, and user accounts. Click on
Manage members,Manage guests, and so on to access a dashboard where you can see, search, and filter lists of people throughout your organisation. You'll be able to view their email, workspaces or pages they have access to, their last active time, and more.Upgrade guests to members.
Remove guest access.
Allow users to grant Notion support access.
Suspend or reactivate user accounts.
Reset all users’ passwords.
Log all managed users out of Notion and require them to authenticate again.
Manage
Session duration length.
From the Security tab of your organisation level settings, you can control the following:
Who can publish Notion Sites, Forms, or public links to the web.
Who can Export pages from workspaces.
Who can duplicate pages to other workspaces.
Who can request to add members.
Who can request to add guests to pages.
Who can add integrations.
Who can access webhooks in database automations and buttons.
These settings can be Workspace managed so that they can be different for every workspace, Enabled for everyone in your organisation, or Disabled for everyone in your organisation.
Security settings can be applied to all of the workspaces and teamspaces within your organisation using Bulk apply. Note that the most granular settings will override any settings at a higher level — for example, if your organisation doesn’t allow publishing Sites and forms to the web but you enable publishing for a specific teamspace, that teamspace will be allowed to publish Sites and forms even though your organisation setting is to have publishing disabled.
Make sure to Save changes once you’re done adjusting your security settings so they go into effect.
From the Data & compliance tab of your organisation level settings, you can do the following:
Search for any page within your organisation. You can filter by workspace, created date, creator, and more.
See all recent activity across your organisation via audit log. You can filter by workspace, date, user, and more. Learn more about audit log events and what they mean here →
From the Analytics tab of your organisation level settings, you can do the following:
See your most active members, guests, and teamspaces.
See the content that has the most engagement.
See popular search queries.
Drill down by workspace and filter by specific date ranges.
Organisation owners can use the Notion credits dashboard to track credit usage and manage on-demand spend across all workspaces in their organisation. This is available if your organisation is on a multi-workspace contract.

Track credit usage across workspaces
From the Notion credits dashboard, organisation owners can:
See total credit usage across the organisation
Compare credit usage across workspaces
Manage on-demand spend for all workspaces
Organisation owners can also manage whether on-demand spend is turned on for workspaces under the contract.
If on-demand spend is on, agents can continue running after your credits run out.
If on-demand spend is off, agents will stop once your credits run out.
You can manage on-demand spend at two levels:
Contract-wide: Turn on-demand spend on or off for the entire contract.
Per workspace: If on-demand spend is on at the contract level, each workspace can be managed individually by workspace owners at the workspace level, and by Organisation owners at the contract level.
If you turn off on-demand spend for the entire contract, it will be turned off for all workspaces.
Set a credit limit per workspace
Organisation owners can set a credit limit for each workspace under the contract. This prevents any one workspace from using more than its share of the credit pool.
When a workspace hits its limit, features that use Notion credits (like Custom Agents) pause for that workspace until the next monthly cycle, or until an org admin raises the limit.